Hayduke Section 0: Planning and Caches

I’m going to be writing blog posts about my experience on the Hayduke this spring! I’m planning to publish this before I start my hike, and I’ll write the summaries of each section after I finish hiking and am able to edit all of the photos. In this first post I wanted to share some of the process that went into planning the hike as well as how I cached certain resupplies. So let’s get into it, what I’m calling section zero!

First off, what is the Hayduke? It’s an 800 mile route through Utah and Arizona on the Colorado plateau, seeing many of the scenic highlights of the region. I’ll be starting in Arches national park and working generally southwest towards the end of the hike in Zion. You’ll notice that I intentionally didn’t call it a trail; there is no defined footpath to hike on like the triple crown trails, there are many alternates (that the creators of the route encourage), and in many places there are no trails at all! The choose your own adventure aspects and areas requiring off-trail navigation are part of what excite me so much about the Hayduke.
The remote nature of the trail requires some creativity when figuring out how to resupply (getting more food along the way). My plan for resupplying on this hike involves a mix of mailing boxes to towns and setting up resupply caches in specific remote areas. All of this required buying a massive amount of food up front!

After a $900 trip to the grocery store, I then had to repackage and divvy up the food into boxes and buckets that I will pick up along the route. In addition to food, I had to create my “navigation bundle” for each box. This includes topographic maps for the next section (I’m using Andrew Skurka’s maps for this) as well as individual pages with the route description that I cut out of the Hayduke guidebook.


Most of this is pretty standard if you’ve thru-hiked before (or followed along with my 2022 PCT section hike), but the new element for me is setting caches. To break up some long food carries into more reasonable lengths, I have cached 4 resupplies at remote locations along the route. To do this, I packaged all of my food for the resupply, a gallon of water, a liter of Gatorade, the navigation bundle, and a box of Oreos into a 5 gallon bucket. Having a Gatorade and box of Oreos as a treat at each cache seems like a good way to make the cache fun when I get there! After putting these buckets together, I then had to hide them along the route where other people won’t find them, animals won’t be able to steal my food, and I’ll be able to access it when the time comes.
I ended up setting 4 full resupply caches and an additional cache with just water. For future haydukers, these caches were placed near Hite Marina, Lower Muley Twist Canyon, Grosvenor Arch, and Hack Canyon, with the water cache on the northern end of the Arizona Strip. Feel free to reach out if you want to chat more about my reasoning and how I feel after the hike about this decision.
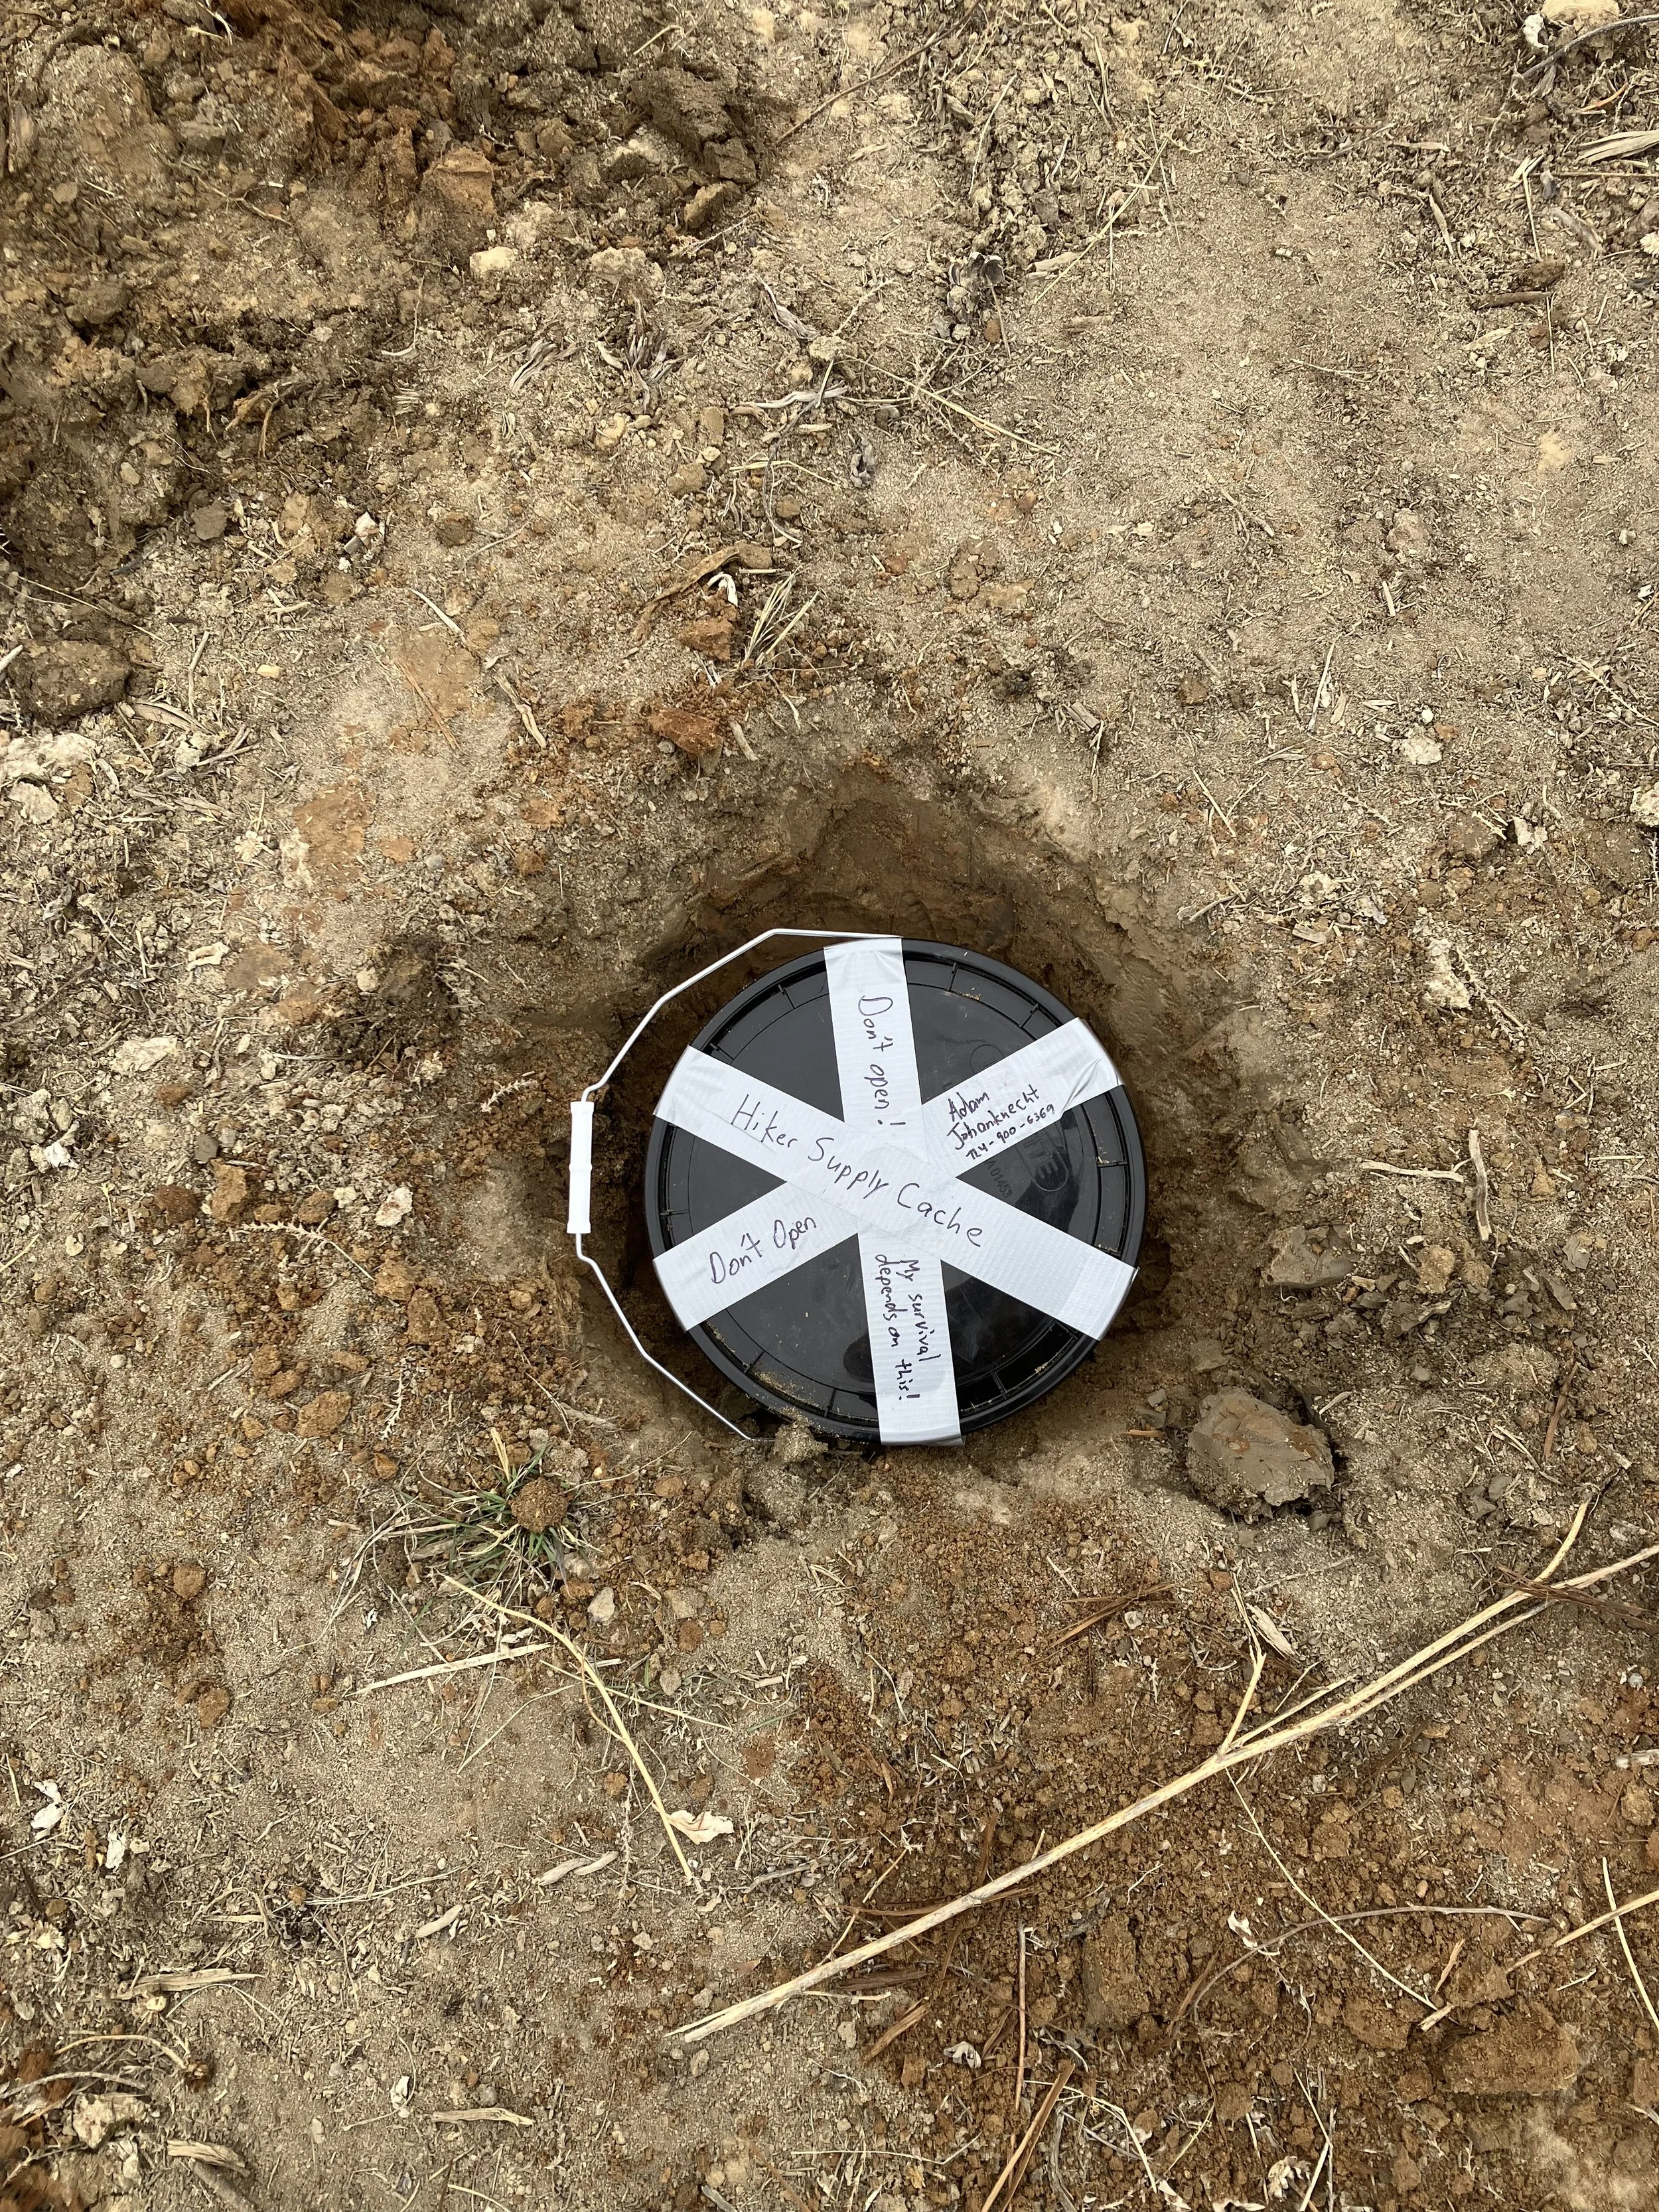
Once I was done putting together the caches, all that was left to do was driving out and placing them in the field! This ended up requiring some problem solving in each location, but I’m hopeful that they’re hidden well. I won’t give too many details about this right now to protect my supplies, but I’ll show you some pictures to give you an idea of what this looked like!


I really enjoyed the process of setting up these caches! It was a part of the journey for me and something that helped enhance my experience leading in to the hike. I was able to reflect on the magnitude of what I was preparing to do, as well as the harsh beauty of these incredible places. I start hiking tomorrow!
